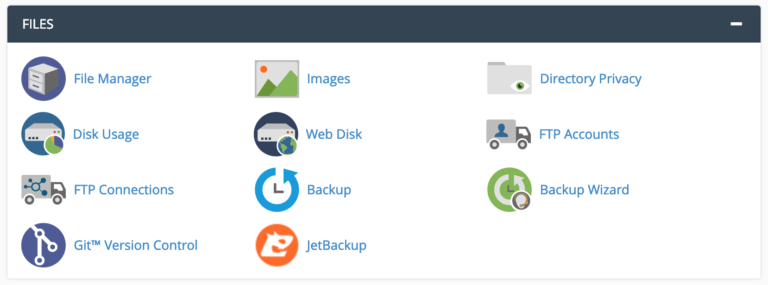
The “FILES” section of cPanel is your go-to spot for uploading files, backing up your website and managing your files via FTP *.
* FTP stands for File Transfer Protocol. You can use FTP to manage the files associated with your website – whether that means uploading, reading or retrieving them. The only real and secure FTP client is your local machine itself -- Simply type ftp://ftp.yourdomain.com into your folder's address field and fill out your webhosting login info at the prompt and you're done ... simply copy and past your files/folders into the www or public_html folder and you're good to go. cPanel also provides you with tools to manage your files without an FTP tool. We’ll cover that next.
The first space you’ll want to get acquainted with within the “FILES” section is the “File Manager”.
The “File Manager” allows you to manage all of your sites’ files directly from within the cPanel interface rather than having to use a third-party FTP tool.
Click on the “File Manager” icon (visible in the screenshot above) to begin. What you’ll see is the central panel of the “File Manager”. It’ll look something like this:
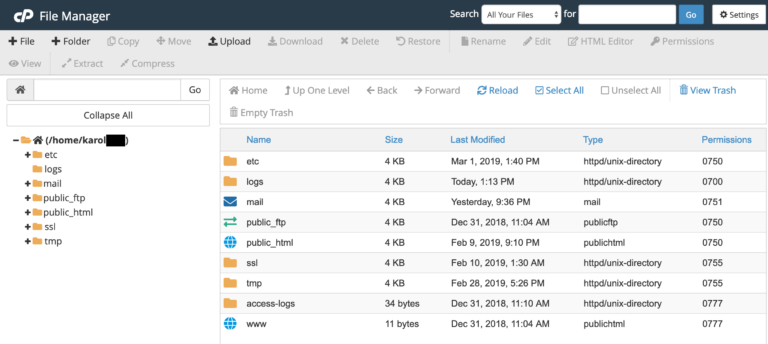
This is where you can take care of all the files on your server, therefore you’ll want to proceed with EXTREME caution when making any changes.
There are a couple of quick things to point out on this screen. First, on the left, you’ll find your root (main) folder and some sub-folders (you can see this in the screenshot above).
Then, in the middle of the screen, you’ll see the contents of whatever folder you have selected.
Knowing this, here are a few things you might want to do:
Create a New Folder
To create a new folder, simply click on the “+ Folder” button along with the top menu, as shown below:

You’ll then be asked to name your new folder and enter the destination where the folder will be created.
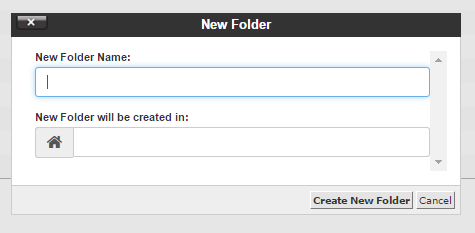
When you’re done, click on “Create New Folder”, and you’re set.
Uploading a File Using File Manager
To add a file – for example, a large video file that you want people to be able to download, or a full-quality photo you want to use on your site – you’ll first need to click on the folder where you want to upload the file to.
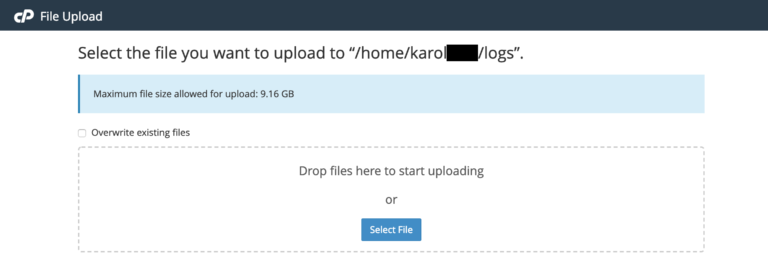
Then, just click on the “Upload” button that’s in the top menu:

You’ll be asked to drag and drop the file you want to upload, or simply select the file from your local drive:
Note; If your website software allows you to upload files from its user interface, do that instead of going to the File Manager in cPanel. Since you’re going to be using those files on your site anyway, it’s just easier to manage things that way – your website software will “see” the file immediately. If you upload a file via the File Manager or FTP, that might not be the case. WordPress works really well with files.
Access Your Main FTP Account
Our hosting services are setup to be able to log in to your main FTP account using the same cPanel login and password. All of our clients are able to login to their main FTP accounts directly from their local machine if they like.

By default, your main FTP account will have access to the root folder.
Adding a New FTP Account
Creating new FTP accounts is a good practice when working with cPanel and launching new projects/websites on your hosting setup.
Having one account per project is a good starting point. The idea is that you give those individual accounts only access to the specific folder they need access to – not to the whole web server.
To create new FTP accounts, click on “FTP Accounts” form the “FILES” section. You’ll see this screen:
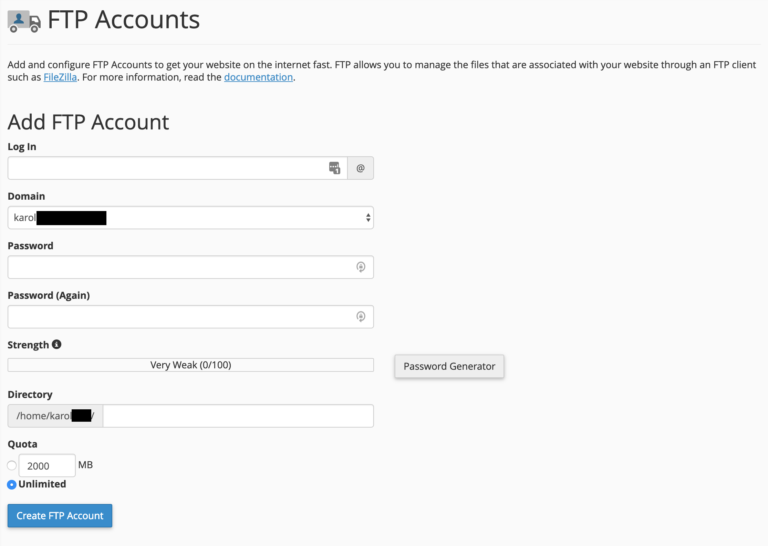
Here’s how to fill out that form and create a new account:
- Log In. This is the username of the new account.
- Domain. The domain name that the new user account will be assigned to. Pick from the drop-down.
- Directory. This defines the new FTP account's highest level of directory access. If you leave this blank, the user will have access to the root. It's best to input the directory associated with the project that the account is for.
- Quota. The maximum space that the new user can take up. Best leave at "Unlimited".
Once you click on “Create FTP Account”, the new user will be added.
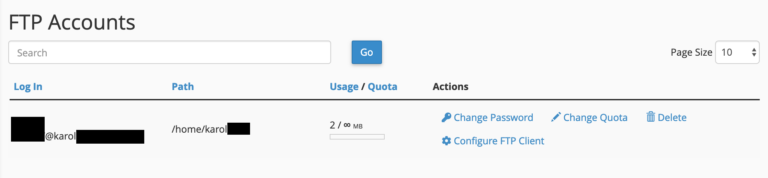
You can manage your existing FTP accounts on the same page, below the new user form:
Follow the links in the right sidebar above (below if you're on your phone) in order to learn about cPanel.